Xcode 11.4 was released last week bringing new APIs to complement the new (and very delightful) pointer support in iPadOS 13.4.
I spent the afternoon adding pointer support to my app and in the process wrote down what I learned as a complement to the official documentation.
Adding pointer interactivity to controls
The new mouse cursor on iOS adapts based on the content underneath it. When the pointer hits an app icon on the home screen, for example, it morphs into the shape of the app icon. This behavior is implemented by default on UIButton, UIBarButtonItem, and UISegmentedControl.
Most apps will need to add interactivity in additional places. The new UIPointerInteraction APIs are how you do it:
let pointerInteraction = UIPointerInteraction(delegate: nil)
view.addInteraction(pointerInteraction)
Adding this code to any UIView will add the default pointer interaction to any view, but you can customize the interaction further by implementing providing a UIPointerInteractionDelegate to the interaction.
Pointer interactivity is comprised of two different types of customizations: effects and shapes. Both these types are outlined below.
Customizing pointer effects
A UIPointerEffect describes the interaction between the pointer and the view underneath it. The API provides 3 types of effects:
Lift

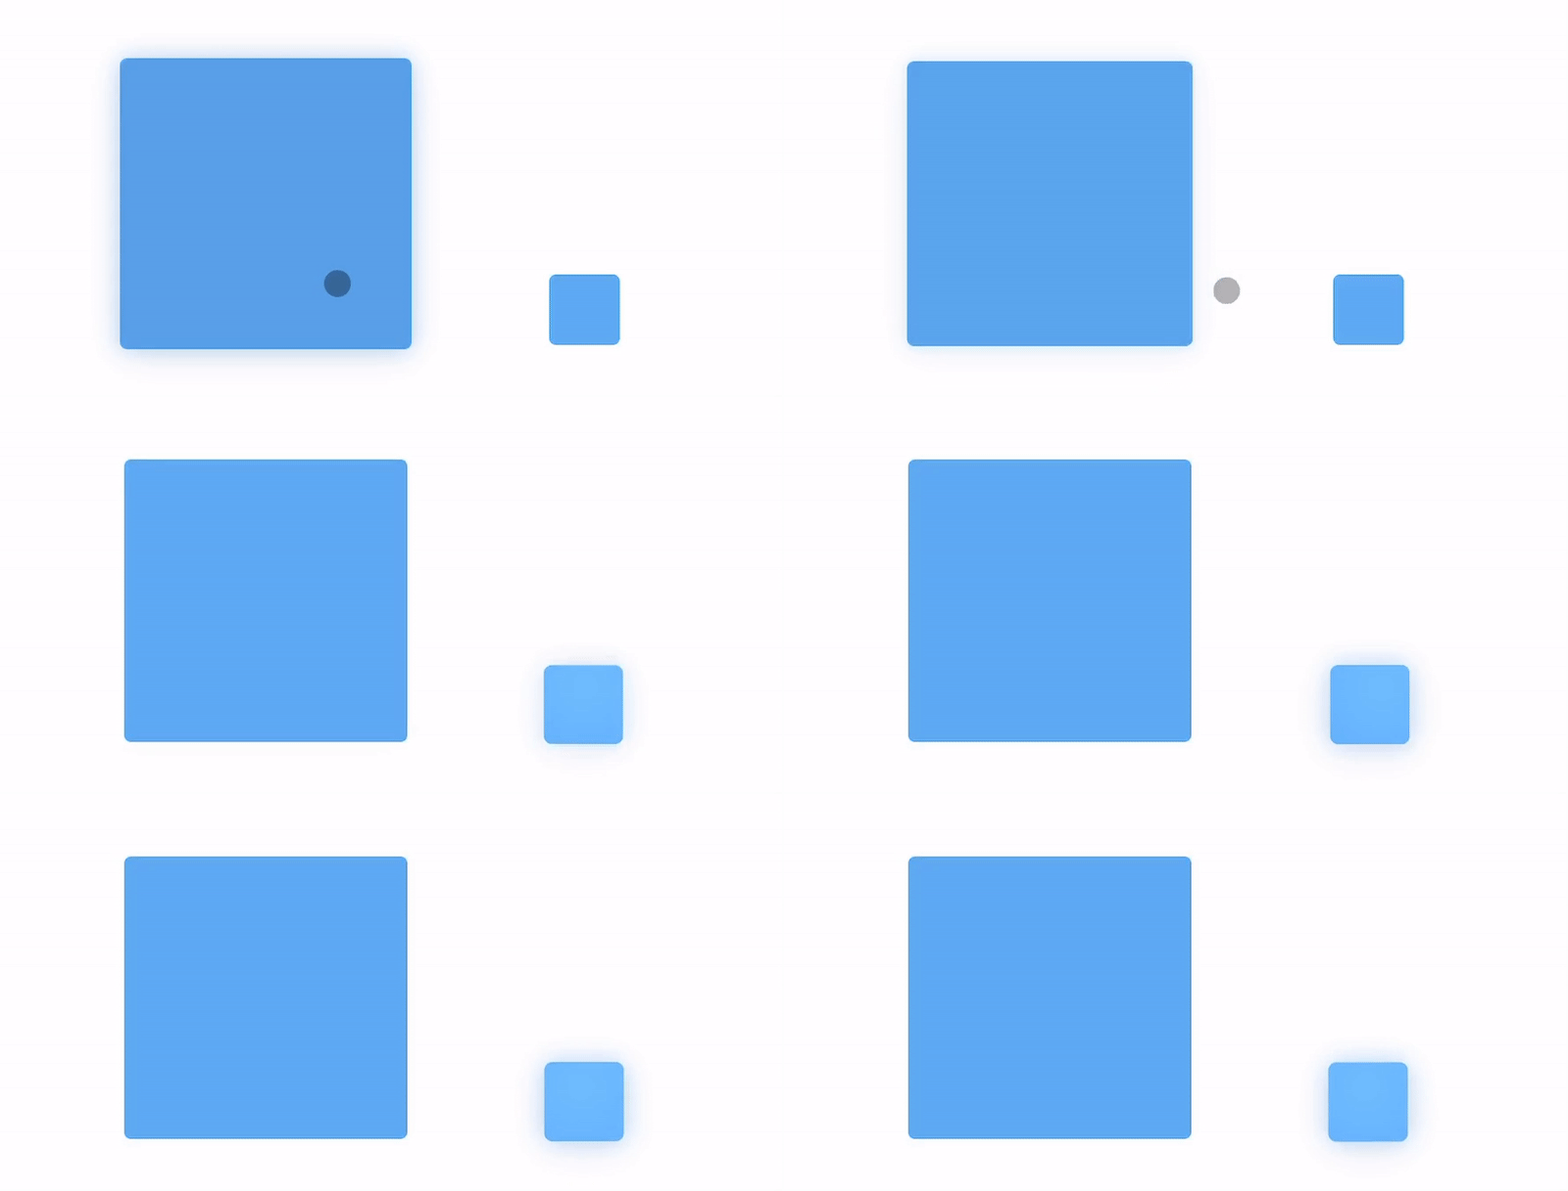
With the lift effect, the pointer will morph behind the view, animate it with parallax effects, and add a drop shadow.
For views with a height or width larger than 175, the pointer will not morph behind the view and remain visible.
func pointerInteraction(_ interaction: UIPointerInteraction, styleFor region: UIPointerRegion) -> UIPointerStyle? {
    var pointerStyle: UIPointerStyle? = nil

    if let interactionView = interaction.view {
        let targetedPreview = UITargetedPreview(view: interactionView)
        pointerStyle = UIPointerStyle(effect: UIPointerEffect.lift(targetedPreview))
    }
    return pointerStyle
}
Highlight

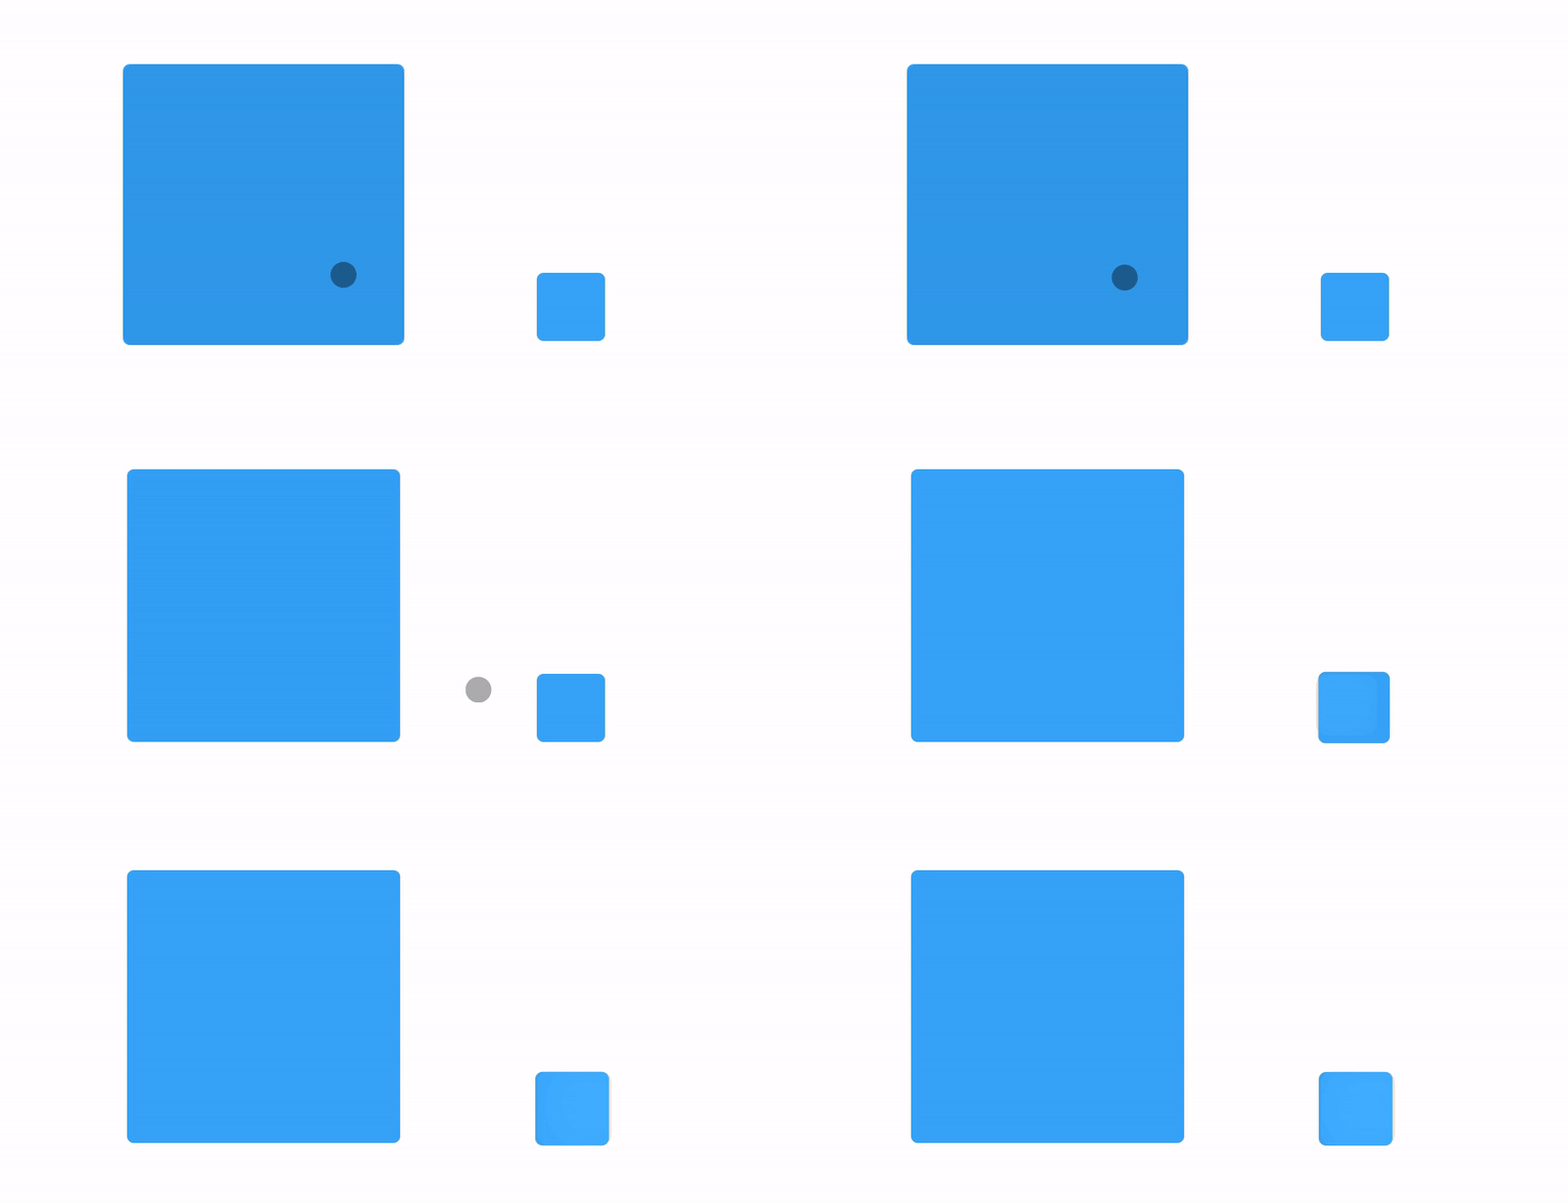
The highlight effect is very similar to lift, except does not add a drop shadow. This can be useful when you are interacting with a view that already has a drop shadow, or shadows don’t look good visually in your app.
func pointerInteraction(_ interaction: UIPointerInteraction, styleFor region: UIPointerRegion) -> UIPointerStyle? {
    var pointerStyle: UIPointerStyle? = nil

    if let interactionView = interaction.view {
        let targetedPreview = UITargetedPreview(view: interactionView)
        pointerStyle = UIPointerStyle(effect: UIPointerEffect.highlight(targetedPreview))
    }
    return pointerStyle
}
Hover
You can use the hover effect to customize the interaction more specifically.
func pointerInteraction(_ interaction: UIPointerInteraction, styleFor region: UIPointerRegion) -> UIPointerStyle? {
    var pointerStyle: UIPointerStyle? = nil

    if let interactionView = interaction.view {
        let targetedPreview = UITargetedPreview(view: interactionView)

        let hoverEffect = UIPointerEffect.hover(
            targetedPreview,
            preferredTintMode: .overlay, // or .underlay
            prefersShadow: false,
            prefersScaledContent: true
        )

        pointerStyle = UIPointerStyle(effect: hoverEffect)
    }
    return pointerStyle
}
You can configure the hover effect with the following properties:
preferredTintMode: determines if the color of the view should be shifted in the parallax effect.prefersShadow: determines if a drop shadow should be added.prefersScaledContent: determines if the view should be scaled up.
You may want to use the hover effect to disable some default effects when you are implementing custom view transformations when the pointer interacts with a view. These view customizations can be implemented in the UIPointerInteractionDelegate methods pointerInteraction(:willEnter:animator) and pointerInteraction(:willExit:animator).
Customizing pointer shapes
When the pointer hovers over a view, it can also change shape to communicate what the pointer will do when clicked.
By default, the pointer will become an I-beam when hovering over editable text.

You can define your own custom shapes by creating a UIPointerShape with a custom bézier path to UIPointerShape.
func pointerInteraction(_ interaction: UIPointerInteraction, styleFor region: UIPointerRegion) -> UIPointerStyle? {
    var pointerStyle: UIPointerStyle? = nil

    if let interactionView = interaction.view {
        let targetedPreview = UITargetedPreview(view: interactionView)
        let shape = UIPointerShape.path(gearPath)
        pointerStyle = UIPointerStyle(shape: shape)
    }
   return pointerStyle
}
To create bezier paths for complex shapes, I recommend Paintcode which is a great Mac app which converts vector shapes into Swift or Objective-c UIBezierPath code.
And that’s it. I’ve been having a lot of fun playing with these APIs in Learn Your Lines, and plan to release the changes in the next few days.